
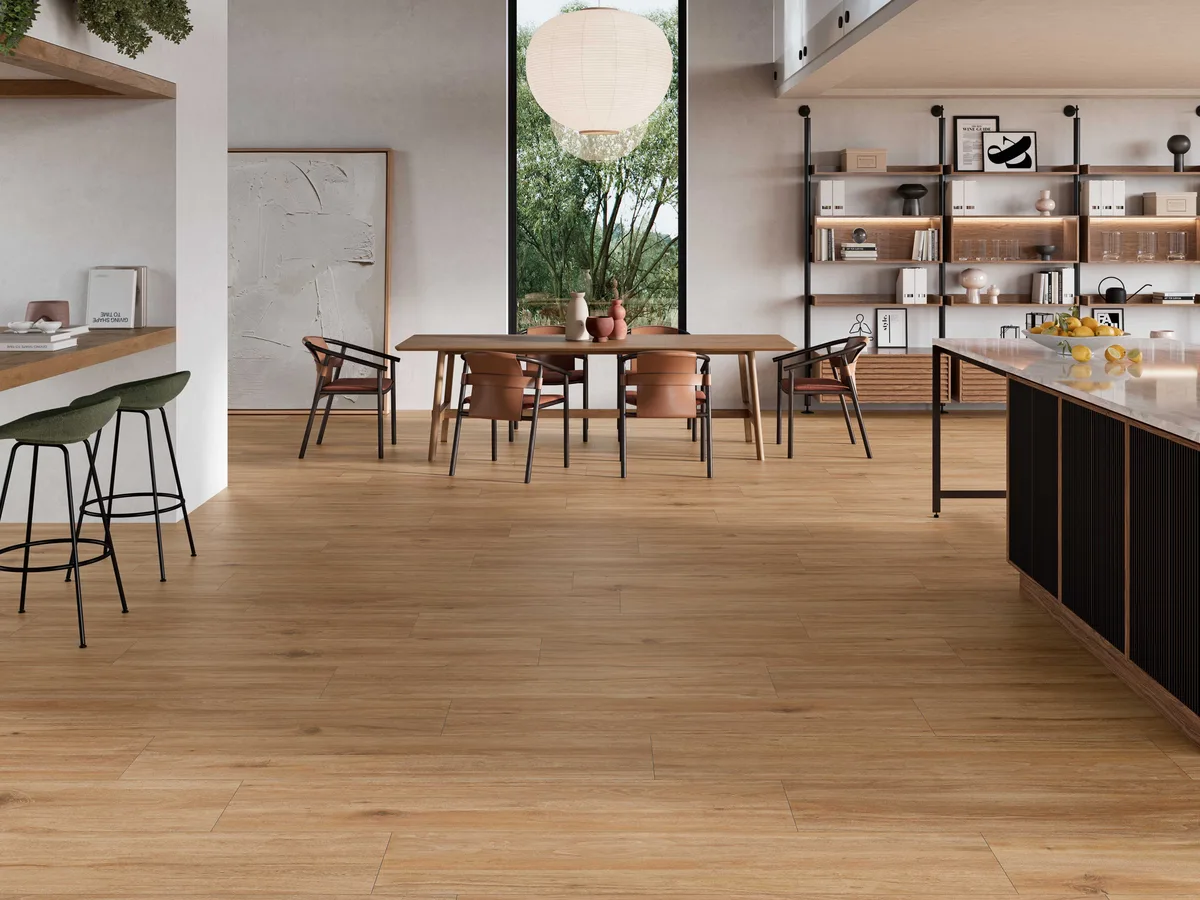




Grout & trim
Grout closes the floor. Trim closes its edges. Both are chosen after the tile and both are visible from anywhere in the room. This guide draws every edge a floor produces, explains what the joint is doing, and lets you change the grout on a live floor and watch it happen.
Download as PDFEvery edge in one drawing
The cut runs left to right through a bathroom, a hall, a bedroom, a living room and a sliding door. Below the tile, 2 is the mortar bed that carries the load and 1 is the substrate under it. 3 is the tile and 4 is the joint between two tiles, drawn in crimson because it is the only one of the four you can still see once the floor is finished. Letters A to H mark the eight places a floor produces an edge, and the key below names each one.
-
Cove base
Curves the floor up into the wall so washing water cannot sit in the corner. The base to ask for in bathrooms and laundry rooms.
-
Wall base
Closes the joint between the floor and the wall with a square top. The base most rooms use.
-
T-molding
Bridges two floors of the same height where they meet in a doorway.
-
Reducer
Slopes from the floor down to a lower one when the two are different thicknesses. It removes the step the change would otherwise leave.
-
Stair nose
Wraps the front edge of a step. It gives the edge a rounded profile and protects the piece behind it.
-
End cap
Ends the floor where it stops against something that is not a wall. Sliding door sills, fireplaces and exterior thresholds.
-
Bullnose
A tile with one rounded, glazed edge. It finishes an exposed tile edge with no metal, which is why it is used on curbs, steps and niches.
-
Metal edge profile
A metal L set under the tile so its leg covers the cut edge. It does the same job as a bullnose on tile that has no bullnose piece.
Vinyl and laminate lines carry color matched trim sets, so C, D, E and F arrive in the floor's own color. Tile edges are finished with G or H.
What the joint does
Four layers, built from the bottom up. Only the last one stays visible.
Grout closes the floor. It carries none of it.
Substrate
The slab or the subfloor. It has to be flat and sound before anything is set on it.
Mortar bed
The mortar under the tile carries the load. Everything that stands on the floor stands on this layer.
Tile
The surface. It takes the wear and it moves a little with heat and with the building.
The joint
Grout fills the space between the tiles. It absorbs those small movements, holds the edges apart and seals the floor against water and dirt.
Cement grout
The standard. It is porous, so it is sealed after it cures and resealed over the life of the floor.
Epoxy grout
Resists stains on its own with no sealer. It costs more to buy and more to install.
How wide the joint is
Plan view · the same floor from aboveA rectified tile is cut to its exact size after firing, so its edges are straight and it takes a narrow joint. A pressed tile leaves the press slightly different piece to piece, and a wider joint absorbs that difference. The two floors below are the same tile at the same size. Only the joint changes.
Your installer sets the final width against the tile's own sheet and against the pattern being laid. The width also decides the grout: narrow joints take unsanded grout, wider joints need sand for strength.
Change the grout, watch the floor
Grout color changes a finished floor more than any other decision made on grouting day. The floor below is live. Change the tile, the grout and the joint, and the same floor changes with you.
Marble look, 12″ square Linen Medium joint Up close
The floor above is shown with a linen grout at a medium joint. The controls need JavaScript. Everything they offer is explained in the sections above and below.
Screen color is a guide. Confirm the grout against a physical grout card in daylight. Switch to WHOLE FLOOR and the joint drops to a hairline, which is what a matched grout looks like from across a room.
Three ways to choose
Each one sets the floor above. Pick one and scroll back up to it.
Matched
The joint disappears into the tile and the floor reads as one surface. The usual choice for large formats.
Set the floor aboveContrast
Every tile is outlined and the grid becomes part of the design. It also shows every crooked line, so the layout has to be right.
Set the floor aboveA shade darker
One step darker than the tile keeps tracked in traffic from showing and still marks the edge of each piece.
Set the floor aboveCommon questions
Do I have to use trim pieces?
Every exposed edge needs one: a trim piece, a bullnose or a metal profile. An open cut edge chips and reads unfinished.
Sanded or unsanded grout?
The joint width decides. Narrow joints take unsanded grout, wider joints need sand for strength. Your installer matches it to the spacing.
What grout color should I pick?
Matched calms, contrast outlines, darker hides traffic. Hold a grout card against the tile in daylight, and confirm before grouting day.
Why did my grout change color?
Uneven curing, cleaner residue or dirt held in the pores. A deep alkaline clean restores most joints, and sealing keeps the color even.
Can grout be replaced without redoing the floor?
Yes. Old grout can be raked out and the floor regrouted. It is a common refresh for a floor whose tile is still perfect.


Settle these before grouting day
The grout type, the joint width and the grout color are all decided before the tile goes down, not after. Confirm all three with your installer, and call us with anything the tile's data sheet does not answer.